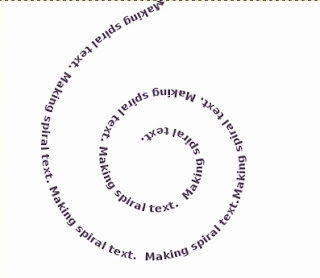
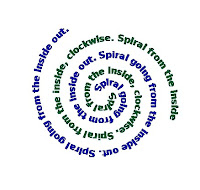
This is my first GIMP tutorial. I created it based on Photoshop spiral text tutorials and GIMP text along path tutorials.
Create new image
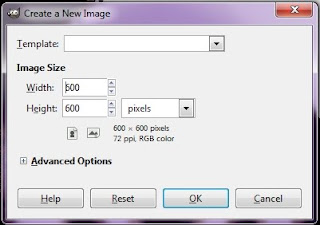
The example is 600x600 pixels
Create spiral
- Create a new layer. Name it "spiral"
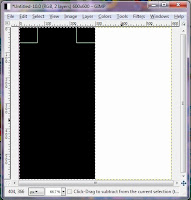
- Use the Rectangle Selection Tool to select half the layer and fill the selection with black.
- Click Select-Select None
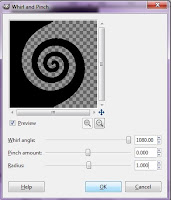
- With the spiral layer selected Go to Filters-Distorts-Whirl and Pinch
- Decide how many "loops" you want in your spiral to have
- 360 degrees represents 1 full spiral. The slider bar stops at 720 but you can enter higher numbers. In this example, I used 1080
- Set Pinch Amount to 0, You can adjust the radius as you like. I used 1.000
Create path
- Use fuzzy select or select by color and select the black region of the spiral
- Select-To Path
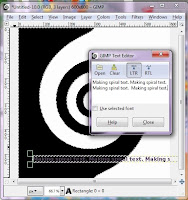
- Enter text using the text tool. You will need to adjust font size based on your image size and number of spirals. I used 20 px. If you want to specify the font you need to check "Use selected font" in the Text Editor
- Note: You can add spaces at the beginning of your text if you don't like the "tail" of the spiral
- Click the "Text along Path" button in the toolbox pane.

- An outline of the text path will appear (this is not the actual text just an indication of how it will look). If you need to make any changes to the the content, font, or size, click Edit-Undo (or ctrl-z), make changes, and click "Text along Path".
- Once the outline looks the way you want it you can close the text dialog box and hide the text layer.
Add text to image
- Click on the Paths tab in the Layers, Paths, Undo dock
- Right click on the text path and select "Path to Selection"
- Click Layers tab
- Add new layer, name it "Spiral text"
- Select "Spiral Text" layer and fill with desired color, pattern, or gradient
- Click Select -None
- Hide text path on Paths tab in order to properly see the layer
- Hide spiral layer and there is your spiral text!
- Select the spiral layer, use fuzzy select or select by color to select the black layer
- Add new layer, Click Edit-Stroke Selection. Select "Stroke line", 1.0 px, "Solid Color". Click Stroke
- Select - None
- Using selection and eraser tools, Remove parts of spiral outline as shown
Variations - Clockwise, Start inside the spiral
-To create clockwise text, enter a negative number for the Whirl or flip the spiral layer horizontally.
-The only way I found to start inside the spiral is to to copy and stroke the spiral path and then edit it.
- Select the spiral that you want, Select-To Path
- Follow steps above in Add Text to image section to add text


